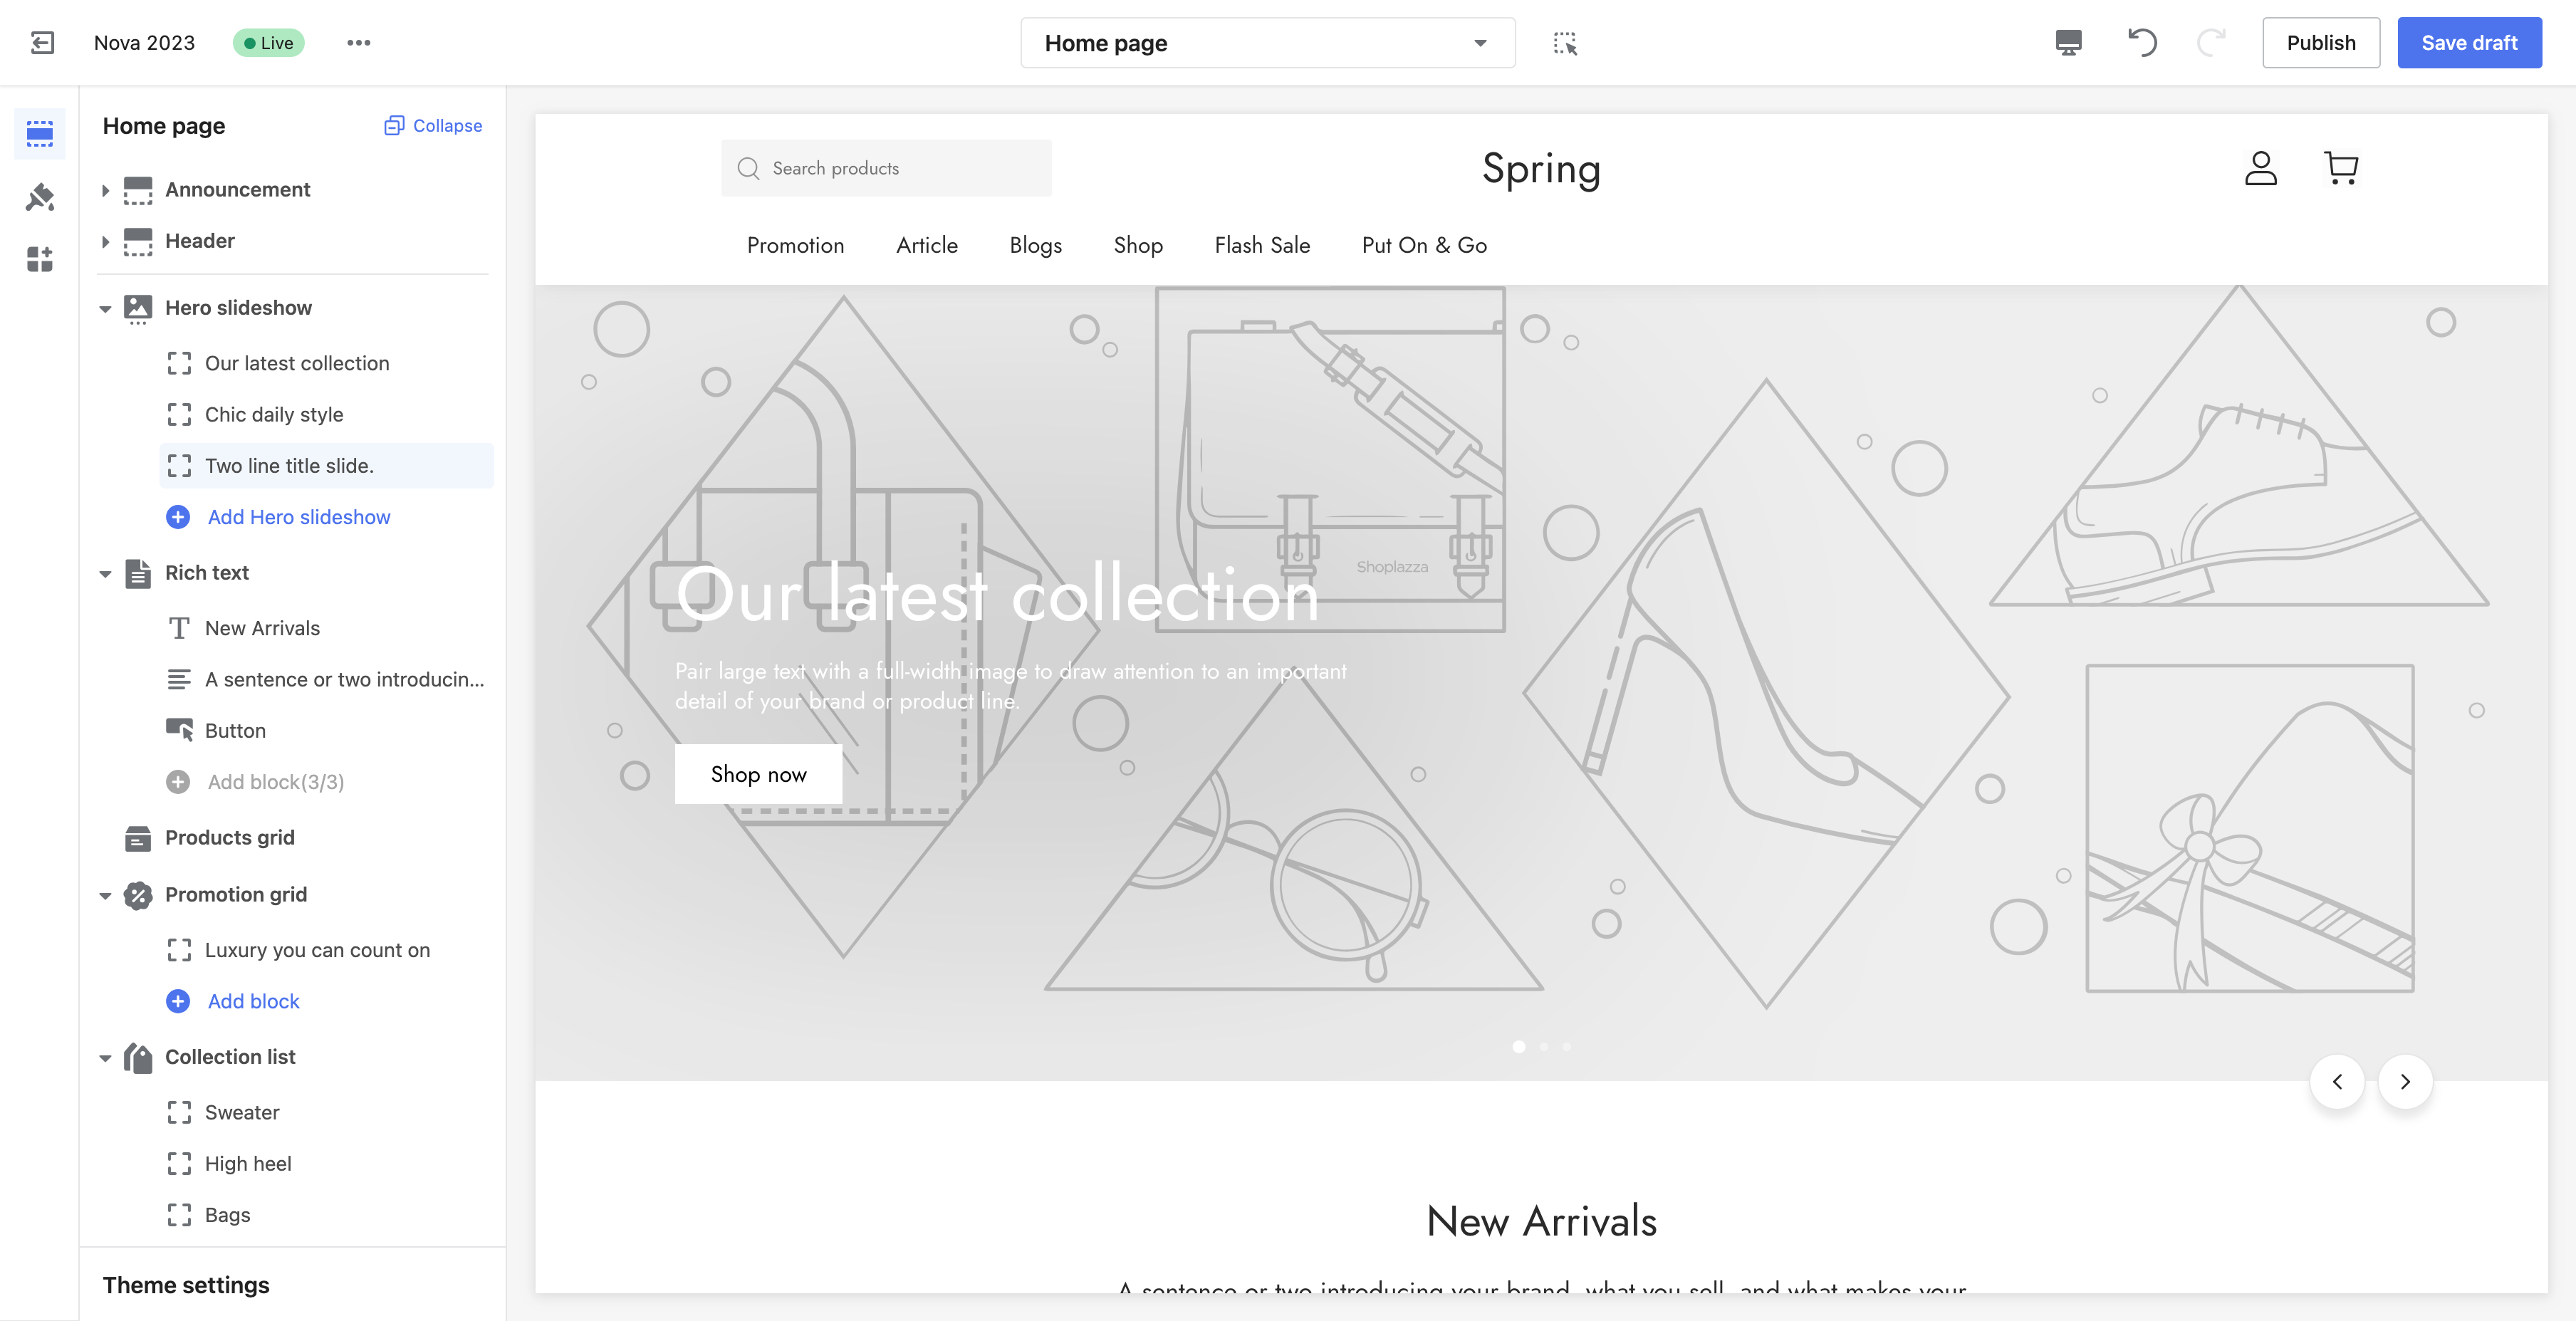
Theme editor
The theme editor is a tool that lets merchants customize the content and appearance of their store, and preview changes to their theme in real-time.
As a theme developer, you can allow merchants to customize their theme in the theme editor by introducing settings, and by dividing your theme functionality into modular sections and blocks.
In the theme editor preview, the merchant should see exactly what will appear in the storefront when the theme is live.

Allowing for customization through the theme editor
Merchants can access the theme editor in the Shoplazza admin.
- From the Shoplazza admin, go to Online Store > Themes.
- Find the theme that you want to edit, and then click Customize.
Accessing the theme editor during development
To understand how your theme settings appear to merchants, you can preview your theme in the theme editor. You can access the theme editor during development by using the following methods:
- Run your theme as a development theme or push your theme to a store using Shoplazza CLI
- Upload your theme as a ZIP to a Shoplazza store
You should choose the preview method that makes the most sense for your current development process.
Allowing for customization through the theme editor
The settings that a merchant can access in the theme editor are controlled by the theme. Settings can be specified in the following places:
- The theme's config/settings_schema.json file
- The setting attributes for each section that are included in the theme.
When a merchant configures these settings using the theme editor, their configurations are saved. Learn more about theme settings, and the types of settings that you can add to your theme.
Live preview
The theme editor can preview certain input settings as merchants interact with them, instead of refreshing the entire storefront preview after the merchant makes a selection.
Text settings
The theme editor can show a live preview of plain or rich text settings. This includes the following settings:
The setting must not be preceded by, followed by, or wrapped by other Liquid markups inside of the parent HTML element:
✅
<h1>{{ section.settings.title | escape }}</h1>
❌
{% assign title = section.settings.title %}
<h1>{{ title | escape }}</h1>
✅
{% when 'heading' %}
  <h1>{{ block.settings.title | escape }}</h1>z
❌
{% when 'heading' %}
  {% assign title = block.settings.title %}
  <h1>{{ titlee | escape }}</h1>
Integrating your theme with the theme editor
You need to make sure that your theme behaves in the editor the same way it would in the storefront. In some cases, you need to adjust your theme's behavior when it's being previewed in the theme editor to give merchants this experience.
To make your theme context-aware, you need to integrate it with the theme editor.
Integrating with the theme editor allows you to do the following:
- Disable any code that should be run only when the theme is viewed by a customer
- Enable or disable any code that should be run only when the theme is being edited
- Make sure that any necessary code is run or cleaned up when a section is added, removed, customized, or moved
Updated almost 2 years ago
