
Overview
The process of building payments app and having it approved by Shoplazza includes the following steps:
Become a Shoplazza Developer
- Apply to become a payment provider. If you aren't a Shoplazza Partner yet, please sign up to be one before asking to be a payment partner.
- For detailed registration steps, refer to the Partner Entry Guide.
Create a Payments App
- Follow the Create Public App Guide to create a Payments App.
- Payments Apps require independent approval and must pass KYC verification before going live.
Apply for a Developer Store
- Before developing the app, a developer store is required for testing.
- Developers can create a store in Shoplazza Partner for testing purposes.
Get APP ID
- Contact the Shoplazza Business Manager to obtain an
app_id. - The
app_idis a numeric identifier assigned to each successfully created Payments App.
Configure Payments App Payment Parameters
- Contact the Business Manager to obtain the "Payments App Configuration Information Form."
Acceptance and Installation of Payments App
- For detailed steps, refer to Shoplazza Developer Documentation.
Debug Installation with Test Shop
- Developers testing stores are not allowed to configure the online environment for payments app channel verification or transactions. They may be charged commission fees and even have their testing stores frozen.
- Transactions made in developer stores may incur commission fees or even lead to store suspension.
- The total test amount must not exceed $50; exceeding this limit will result in commission fees.
For details of steps for testing app, please see our documentation APP TESTING.
Obtain the Authorization Code of the Merchant’s Store
- Construct an App installation link for the merchant store:
https://{store_name}.myshoplaza.com/admin/oauth/authorize?client_id={client_id}&scope={scopes}&redirect_uri={redirect_uri}&response_type={response_type}
- Parameters in the URL:
| Parameter | Description |
|---|---|
store_name | The store’s subdomain on Shoplazza. |
client_id | The App ID obtained during registration. |
scope | Permissions required by the app. Use read_payment_info write_payment_info. |
redirect_uri | The callback URL where the authorization response is sent. |
response_type | Fixed as code. |
- After authorization, the system will redirect to:
http://{redirect_uri}?code={authorization_code}&shop={store_name}.myshoplaza.com&hmac={hmac}
- NOTE: For more details, please visit Obtain Authorization for Shoplazza API
Obtain Access Token
- For more details, please visit HMac Validation by Node.js
Redirecting to the app installation page
Continue to assemble the above information and redirect to the designated installation app page
https\://{store_name}.myshoplaza.com/admin/smart_apps/coral/payment/providers/{app_id}
- For more details, please visit OAuth Flow
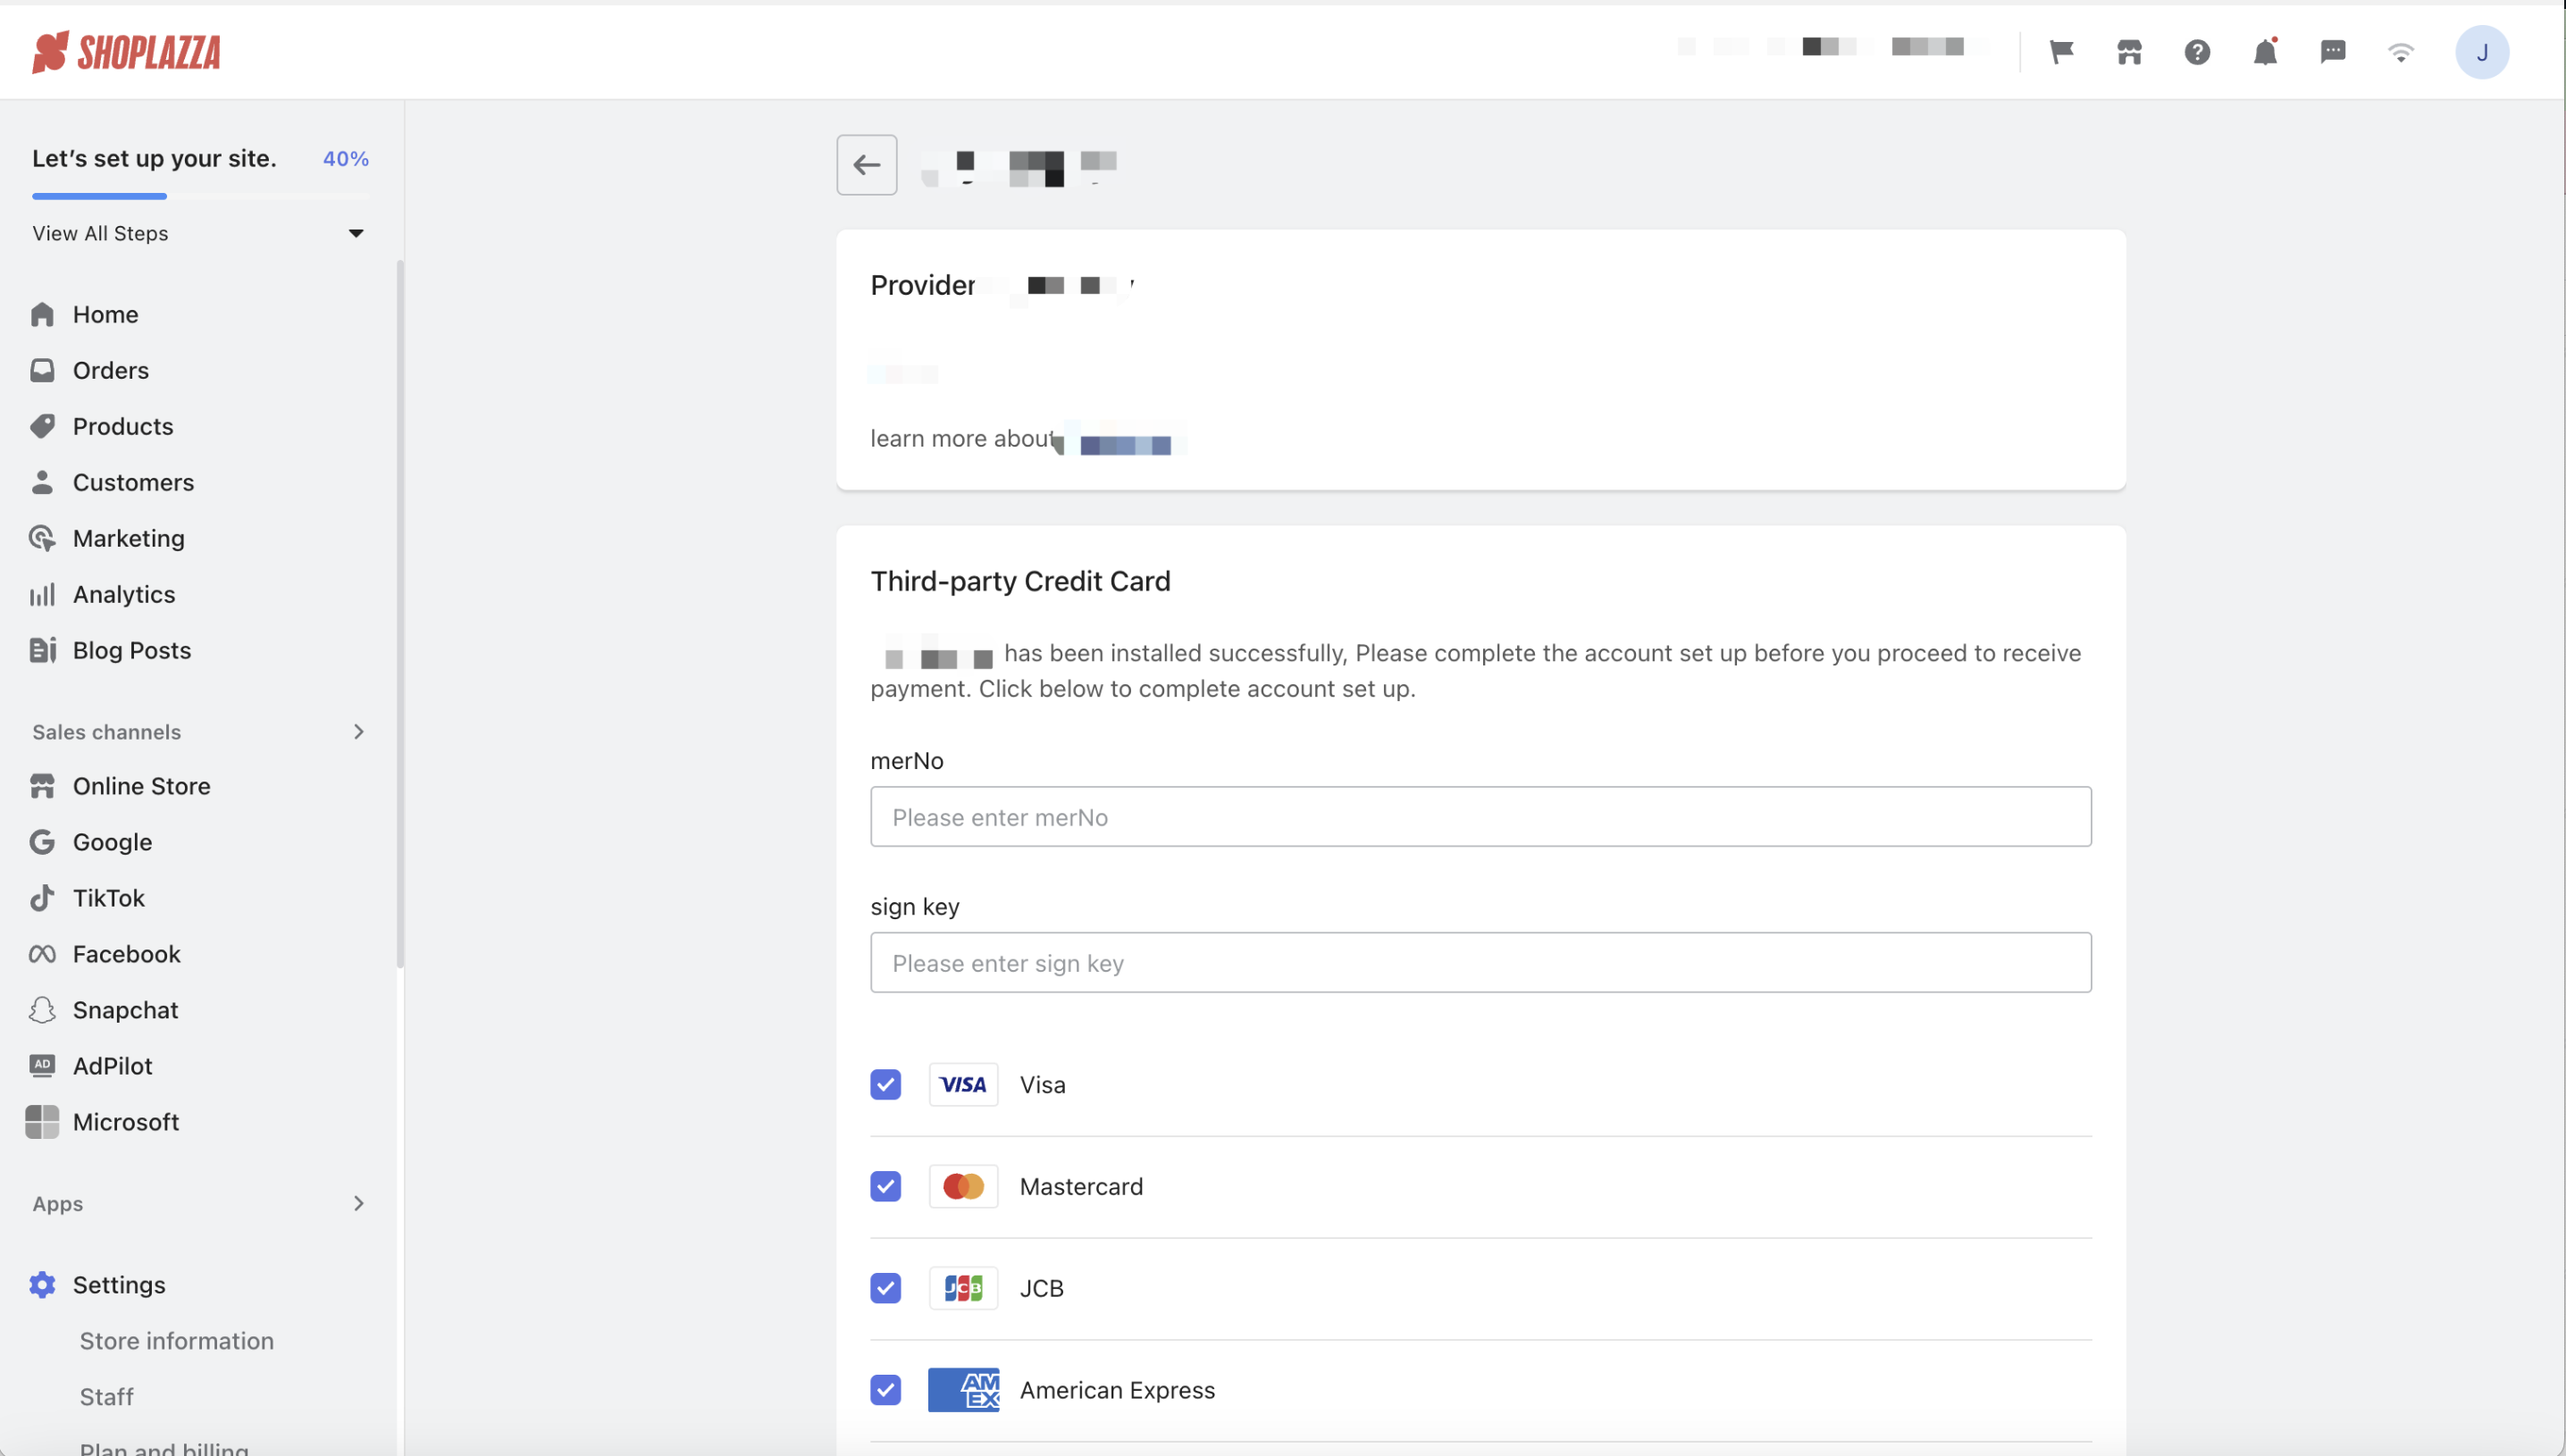
Page demo for accepting payments app
Payment API Debugging
Request the business manager to create a WeCom group, where the relevant R&D personnel will provide support for the subsequent payment API joint debugging and integration.
Publish It Online
To successfully launch the Payments App, follow these steps:
-
Complete the "Payments App Docking Test Report" and submit it to the R&D team (directly upload it to the designated WeCom group).
-
Update the "Payments App Configuration Information Form" with the online payment URL and request the business manager to submit it for approval.
-
Once approved, developers must release the app through the Developer Center.
-
Final Approval & Listing: The R&D team will conduct a final verification. If everything meets the requirements, the app will be approved and officially listed.